Sourdough bread


What about sourdough bread—with an open, moist crumb and a wonderfully crispy crust—directly from your kitchen oven? With our step-by-step instructions, you can achieve perfect results at home. Leave the baking sheet aside and place the dough piece in a cast-iron pan instead. Cast iron loves high temperatures and distributes them evenly, ensuring perfect baking results. By adding plenty of steam to the oven at the beginning of the baking process, you can create a sauna-like effect for the bread: the steam keeps the dough moist initially, allowing a crispy crust to form later. Simply delicious!
Recommended products and ingredients


The ingredients
For the pre-dough
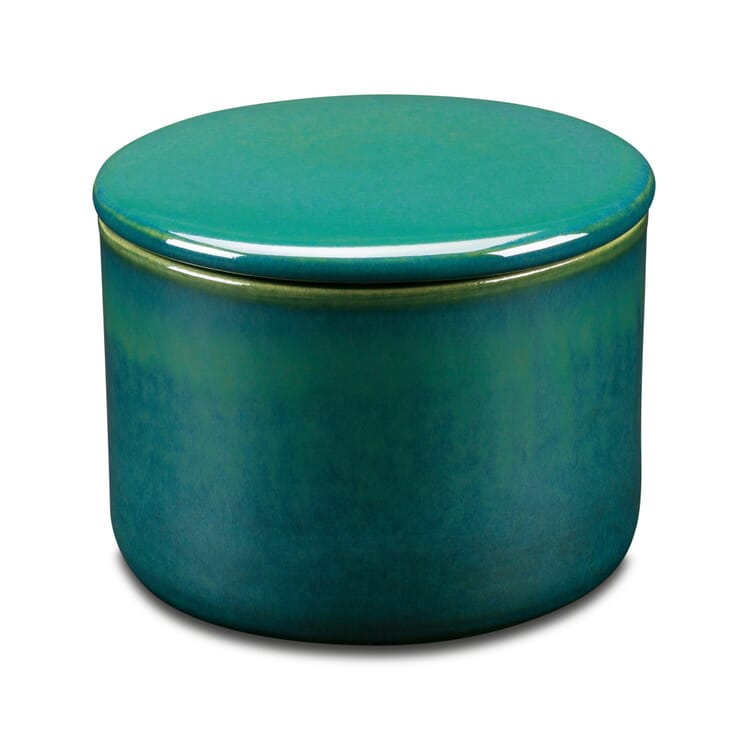
20 g ripe sourdough (starter)
200 g flour (preferably type 550 or pizza flour)
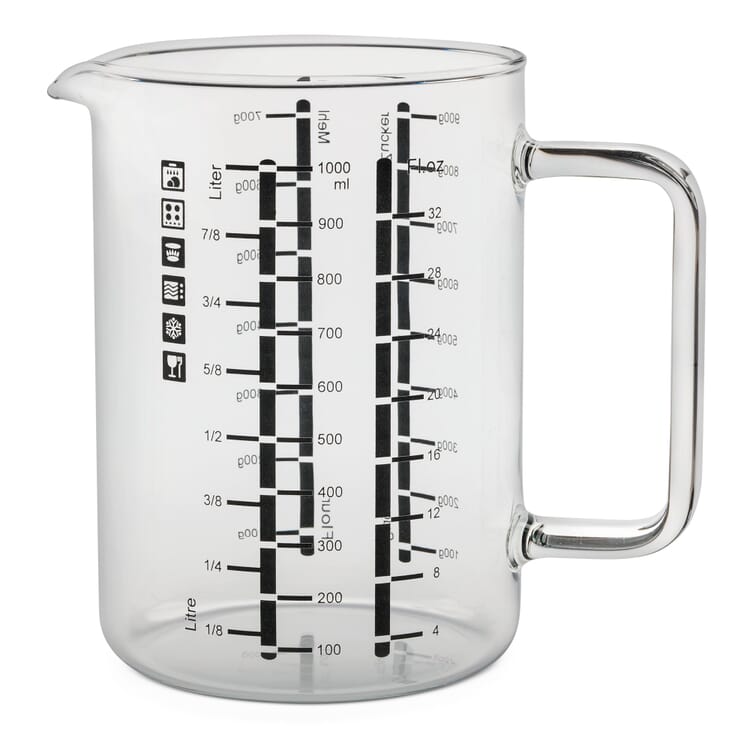
150 ml water (preheated to approx. 45°C)
For the main dough
250 g flour (preferably type 550 or pizza flour)
250 g dark wheat flour (type 1050)
320–350 ml water (cold)
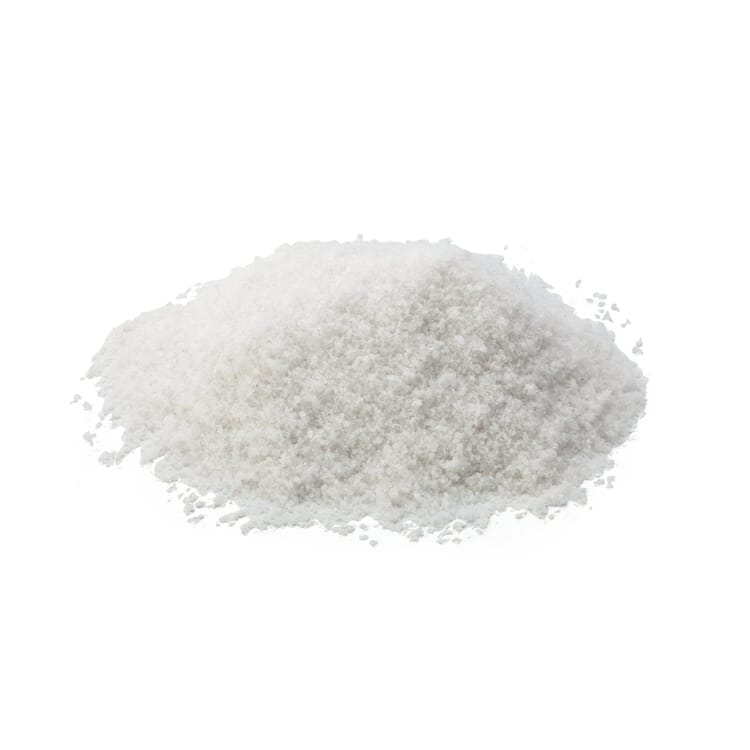
16 g Luisenhaller rock salt
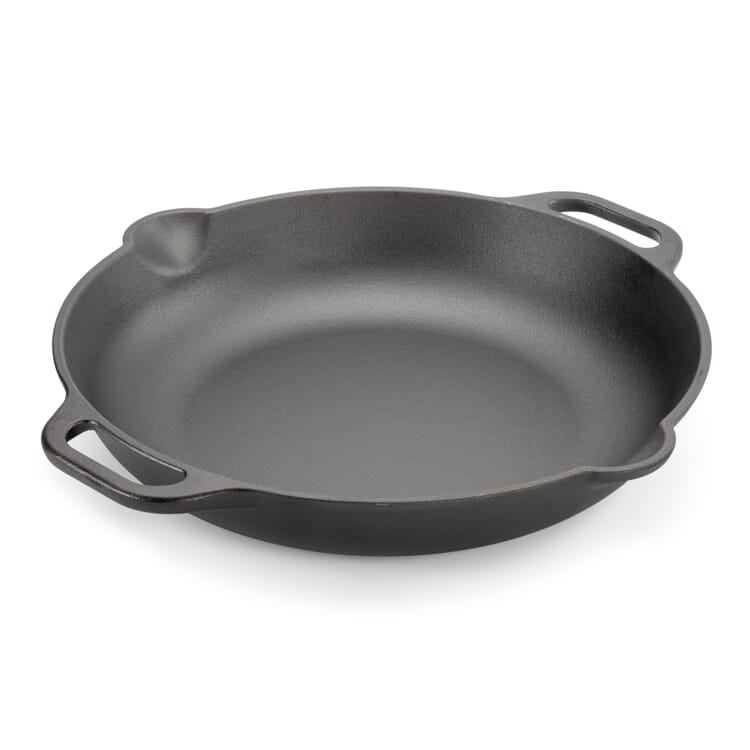
Also a cast iron pan and a steam generator.
The preparation
-
First, take the sourdough starter out of the refrigerator, where it has been carefully maintained and fed; it is now ready for baking. This mature sourdough, known as a “starter” or mother “dough,” contains a wealth of microorganisms, particularly lactic acid bacteria and wild yeasts, which kickstart the process of creating new sourdough for bread baking when combined with quality ingredients. Choose a strong flour for baking—one that can absorb a significant amount of water (due to its protein content) and effectively hold the typical sourdough fermentation gases together. Place 20 grams of the starter in a tall container, such as a liter measuring jug or a Weck jar, and cover it with 200 grams of type 550 flour. Finally, add 150 milliliters of pre-warmed water. To prevent damage, the starter should not come into direct contact with the warmed water. Mix everything well until the pre-dough reaches a medium-firm consistency.
-
To allow the pre-dough to rest, place it in a warm environment. Ideally, use a temperature-controlled box with integrated heating. If you don’t have one, you can alternatively place a hot water bottle in a turned-off oven and set the mixing bowl with the pre-dough on the middle rack. Keeping the dough warm, as bakers recommend, helps the sourdough yeast develop strong leavening power, resulting in bread with a mildly sour aroma. During this proofing stage, the dough should at least double in volume, which usually takes between six to twelve hours, depending on the activity level of the dough.
-
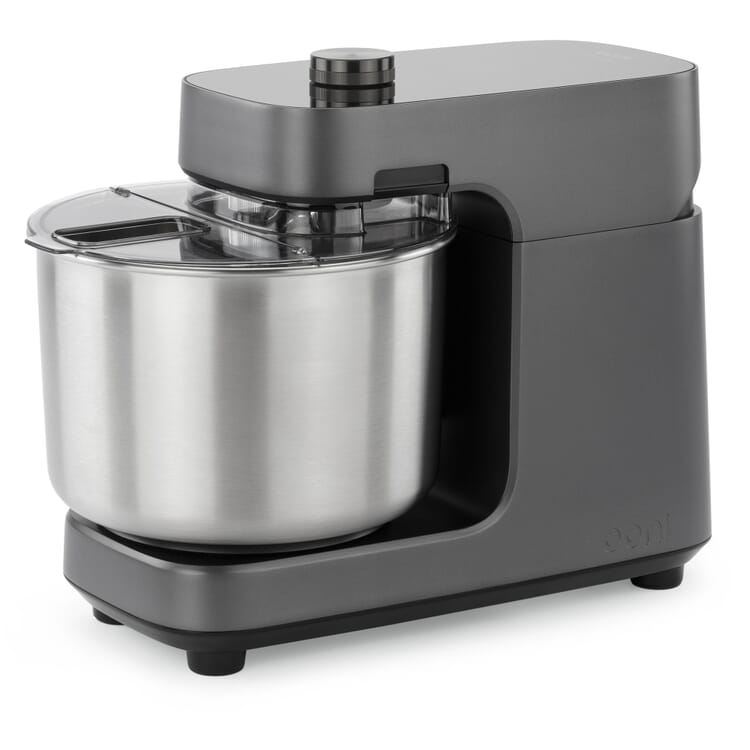
Combine 250 grams of type 550 flour and 250 grams of type 1050 flour in a bowl with the doubled sourdough. Add cold water and start kneading. Keep in mind that different flours absorb varying amounts of water, so the measurement is just a guideline. To ensure proper rising and an even texture in the bread, add the salt a bit later in the process. Knead the dough thoroughly, either by hand or with a machine, until it becomes very elastic, and you can pull it into a thin sheet without tearing. Alternatively, if you prefer not to knead, you can stretch and fold the dough over several hours until it develops the desired characteristics.
-
The next stage in the maturation of the bread dough is called the bulk rise. Leave the dough to rise in a warm environment or a temperature-controlled box for at least two hours. During this time, stretch and fold the dough every 30 minutes. This process of stretching and folding will help improve the dough’s structure and volume. Finally, fold into a round shape.
-
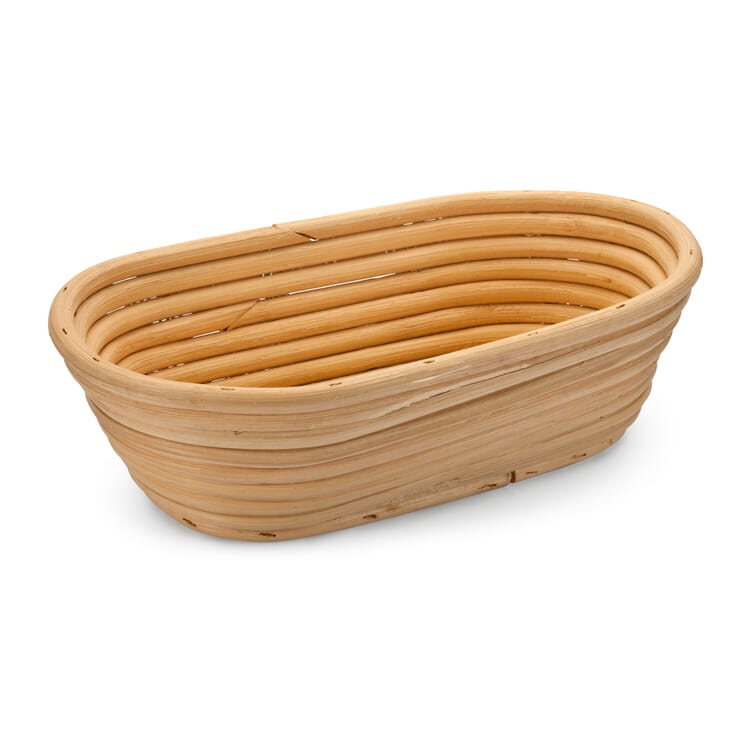
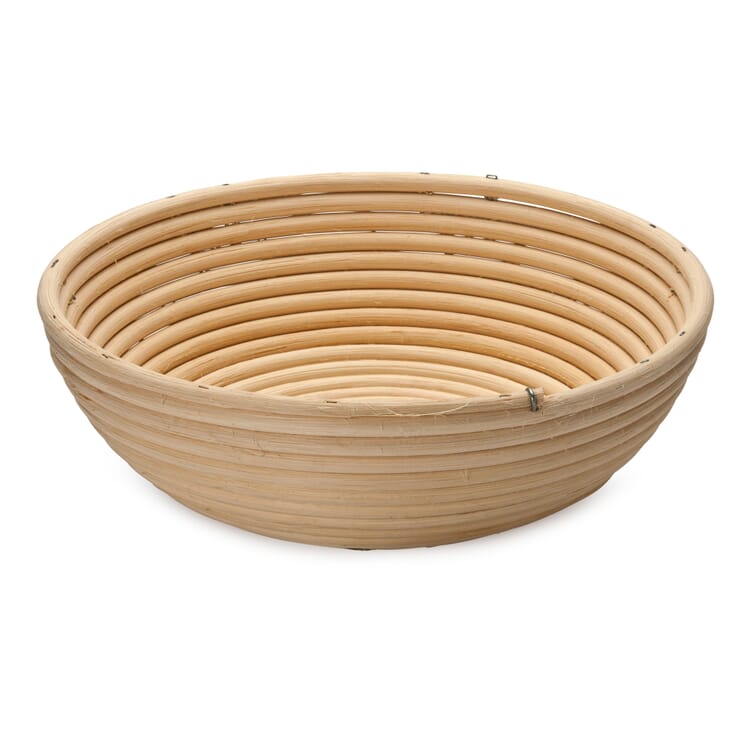
Place the dough in a proofing basket and cover it with a baker’s cloth. Allow it to rest for several hours to rise. The exact duration of the final proof depends mainly on the activity of the sourdough and the ambient temperature. This temperature factor provides some flexibility; you can adjust it to speed up or slow down the rising process, depending on whether you want to bake the bread the same day or the next day. The dough is ready to bake when a light press with your thumb leaves a dent that remains. Additionally, it should have significantly increased in volume.
-
Preheat the oven to its maximum temperature with the cast-iron pan and the steam generator inside. Next, score the top of the dough to create predetermined breaking points in the crust. Creative minds can wield their blades, get artistic, and carve patterns into the bread. Place the dough in the hot pan, close the oven door, and allow the steam generator to release steam. Then, reduce the baking temperature to approximately 200 °C (adjusting by ±15 °C depending on your oven) and bake the bread for 45 to 50 minutes or until it is golden brown.
-
Remove the baked bread from the pan and leave to cool on a wire rack.