Recipes
Tiramisù


There are two stories surrounding our favorite dessert. One takes place in the 1950s in the small town of Tolmezzo in Friuli and in the restaurant of the Hotel Albergo Roma. Chef Norma Pielli liked to serve passing mountain hikers a dessert that would give them energy for their onward journey. In the local dialect, this delicacy was probably called tireme su: Pull me up! The province of Treviso also claimed to be the inventor of the legendary dessert from the 1960s onwards. A rivalry that was only settled a few years ago: in 2017, the famous dish was added to the PAT list (Prodotti Agroalimentari Tradizionali) of the Friuli Venezia Giulia region. Either way - tiramisù always wins and is the crowning glory of any Italian-inspired menu. We provide you with the original recipe. Only the sugar content has been reduced by half, because the famous dessert no longer needs to be quite as sweet as it was served in Italy 70 years ago for today's tastes. Unless, perhaps, maybe ... If we were to serve it as a hiking snack?
The ingredients for 6-8 portions
4 eggs
150 g sugar
500 g mascarpone
500 g firm ladyfingers (equivalent to 26-30 pieces)
300 ml mocha or espresso, freshly brewed and cooled
50 g cocoa powder
For your planning: The recipe specifies cooling and resting times of 45 minutes and at least six hours. It is therefore worth starting the preparations in the morning if you want to serve your tiramisù for dessert in the evening.
Recommended products for preparation

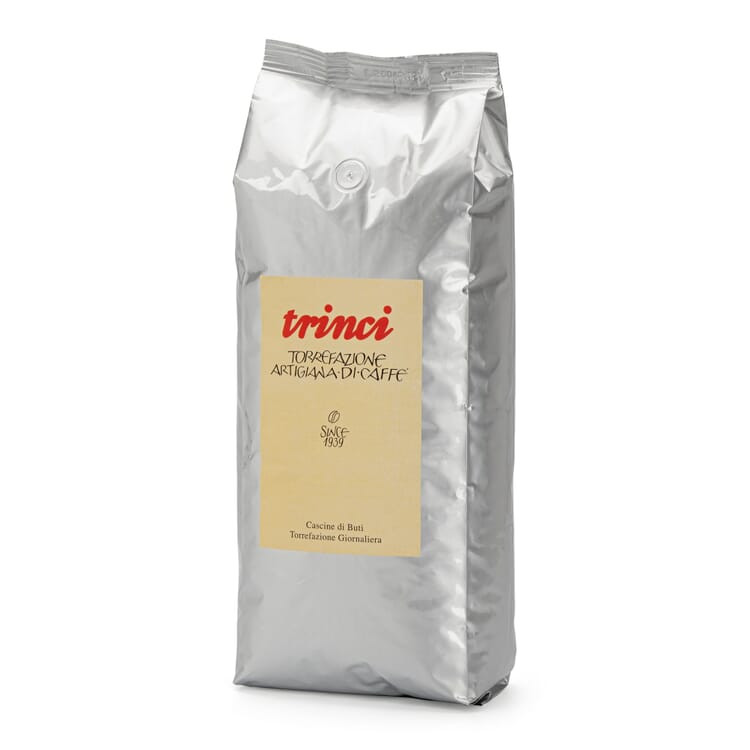

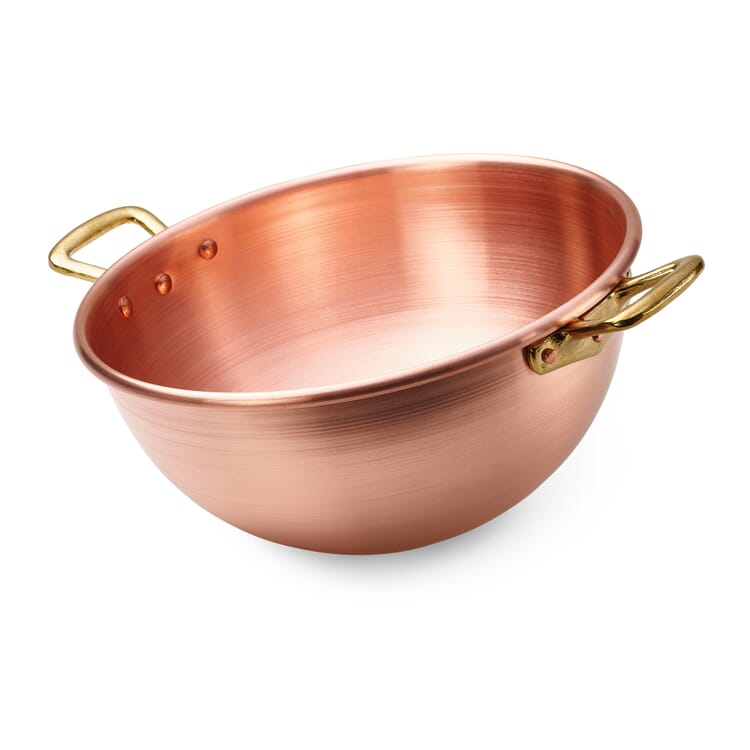

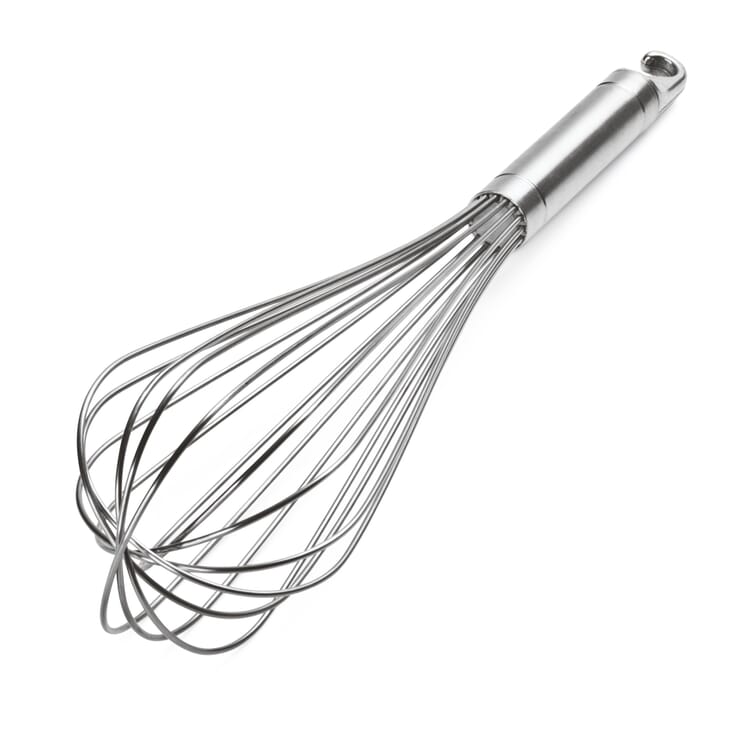

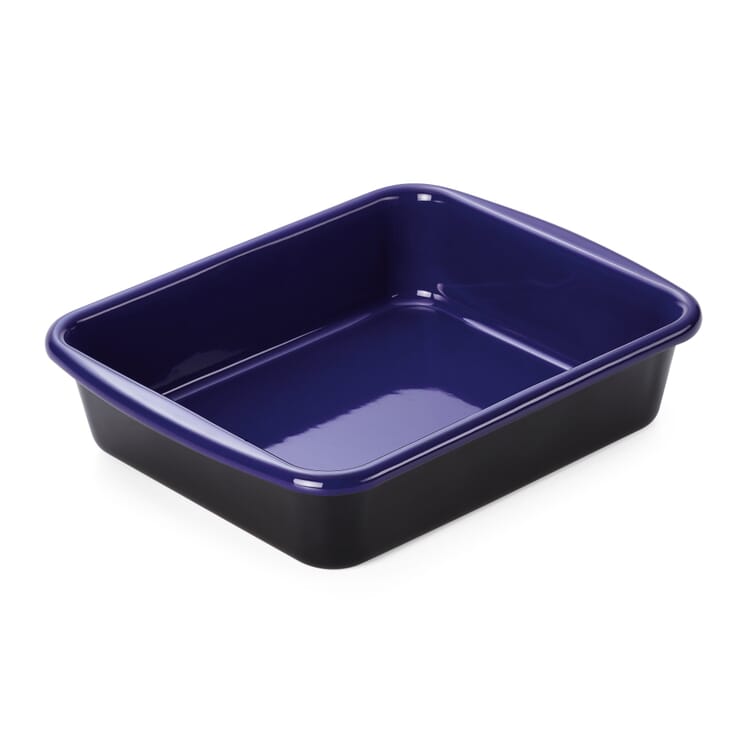




The preparation
Brew some mocha or espresso and let it cool. Next, separate three eggs. Beat the egg whites with a hand mixer until stiff peaks form. Mix the egg yolks with the remaining whole egg, gradually add the sugar, and beat the mixture until it turns pale.
Then add the mascarpone in batches to the egg yolk-sugar mixture and gently fold it in from the bottom up. The goal is a smooth and creamy mixture. Next, gently fold in the beaten egg whites.
Now prepare the first layer of ladyfingers and cream. To do this, first pour the cooled mocha or espresso into a wide bowl or soup plate. Lightly dip the ladyfingers one by one into the liquid and arrange them side by side in a baking dish about 25 centimeters long. Once the bottom of the dish is covered, spread half of the mascarpone-egg-sugar mixture over the top and smooth it out. Let it rest in the refrigerator for 45 minutes.
Repeat the process for the second layer: Dip the remaining ladyfingers one by one lightly into the coffee and arrange them side by side on top of the chilled cream layer. Finally, pour the remaining cream into the pan and smooth it out. Then chill for at least six hours. Dust with cocoa powder just before serving.
Source: The Gourmet Bible: Italy. Absolutely Everything About Italian Cuisine. By François-Régis Gaudry and friends. 400 pages with 265 recipes, 1,000 illustrations, and even more product profiles. Hardcover, 25.1 × 33.1 cm. Published by Christian Verlag in 2021.
More suitable products







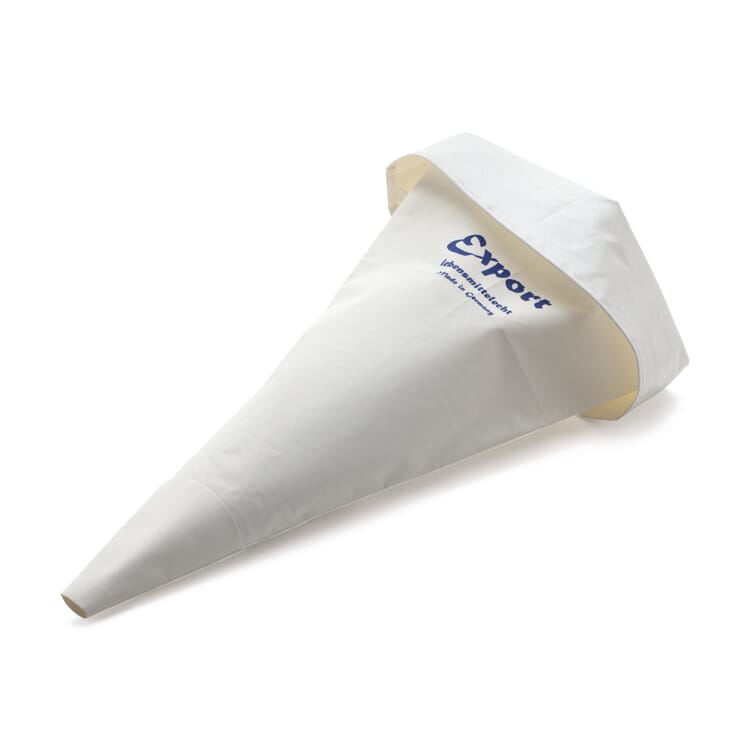

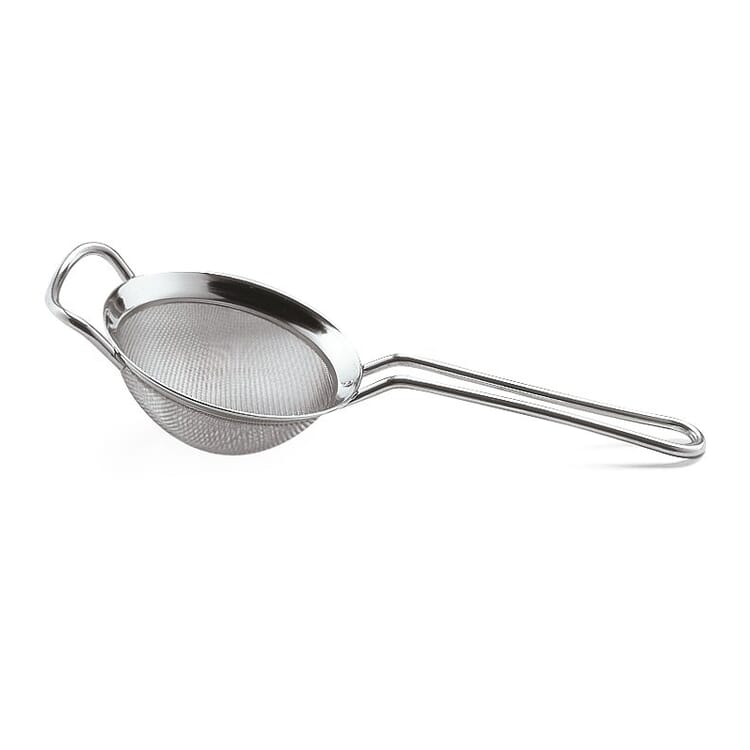

Recommended Topics

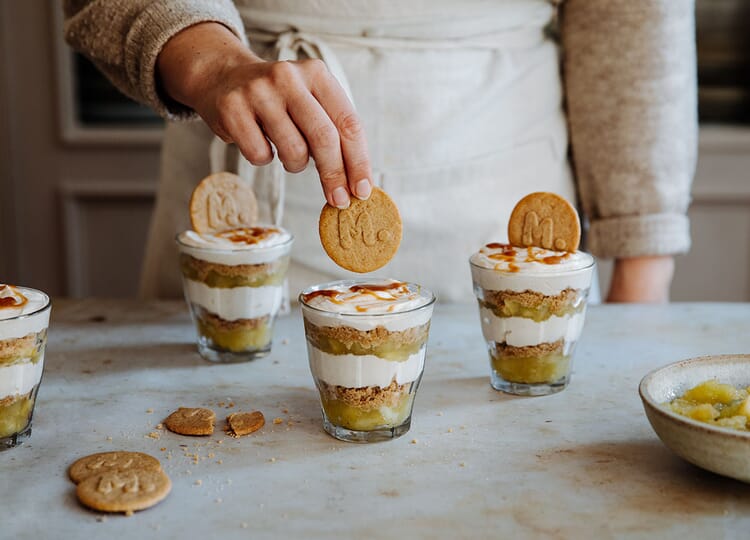
A winter dream of a dessert: delicately crunchy stewed apple compote with a subtle hint of vanilla, cinnamony quark cream, speculoos butter cookie and salted caramel sauce, piled up and appetizingly arranged in a glass ... Is this still a hint of autumn - or does it already taste like Christmas? Whatever occasion you want to treat yourself and your guests to, remember: the components of this layered dessert can easily be prepared the day before, so all you have to do is arrange it just before serving.
View more
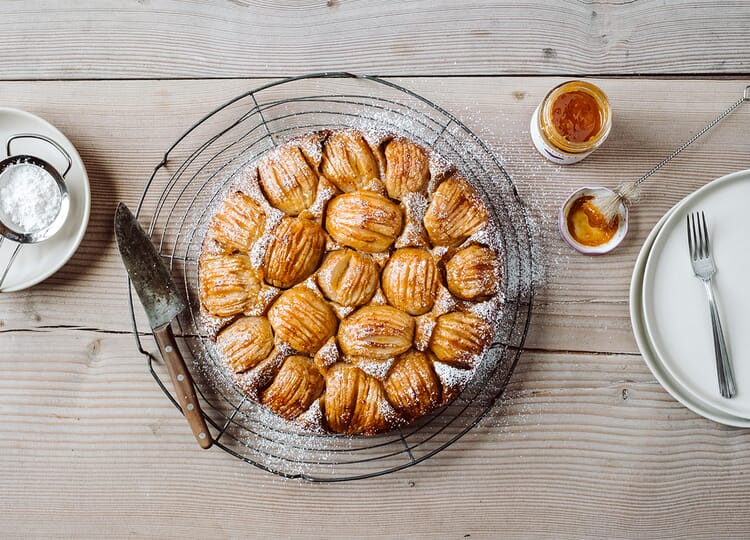
Smells wonderful and tastes even better - our "Sunken apple cake made the house way". The highlight: a glaze made from apricot fruit spread gives it a fine sheen and even more flavor. It is particularly delicious with freshly harvested or stored apples from your own garden. Instead of butter, the sponge can also be made with margarine, making it lactose-free.
View more
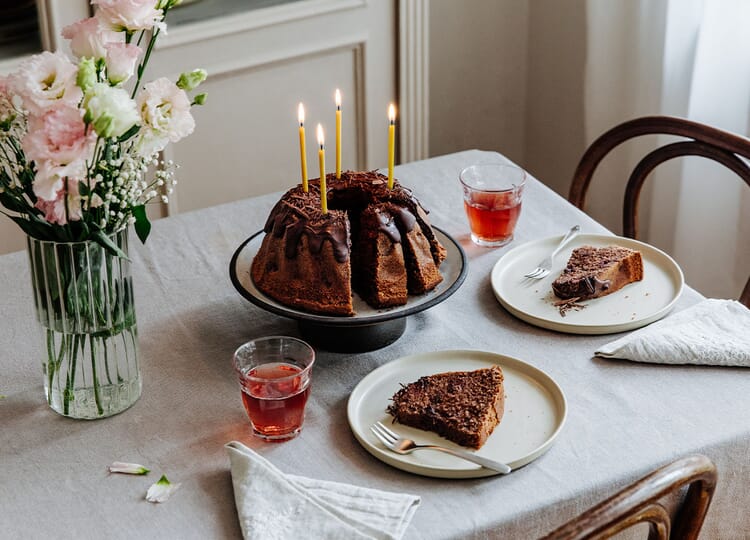
The summer sweetness of delicious morello cherries, juicily cooked, and a classic sponge with a chocolatey flavor that melts in your mouth - that's our chocolate cherry bundt cake. There's hardly anything that can go wrong with this good, simple basic recipe, as it is wonderfully adapted to the ring-shaped tin with the "chimney" in the middle, which allows the cake to bake evenly.
View more